What is the fuss all about with Charcuterie Boards these days? How hard can it be to throw some meat and cheese on a wooden board?
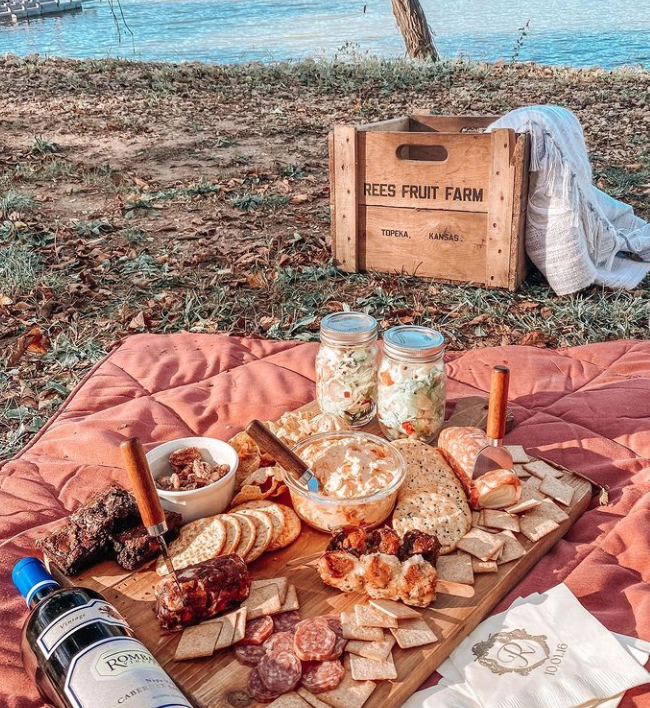
The Charcuterie Board is the ultimate eye-candy appetizer- for the hostess wanting to impress, for the woman that hates to cook, or just for a meat and cheese lover. The Charcuterie Board will be a crowd pleaser.
Well if you have ever tried to make your own Instagram worthy board, you get stuck somewhere between the $100 grocery bill for an appetizer plate and the mangled mess of cheeses.
First things first, you must go to the grocery store with a game plan. Not just any grocery store will suffice, Aldi is the place you can buy all the delicacies you need for nearly one-third of the price! To help you with this game plan, I have made a grocery check list!

In my personal opinion, the MUST-HAVES are the flavored goat cheese logs. My favorite being the blueberry-vanilla from Aldi, is amazing with crackers or fruit. I personally like to add a round of Brie cheese to add another shape to to draw the eye. Then add some precut cheese or another block and you are all set!
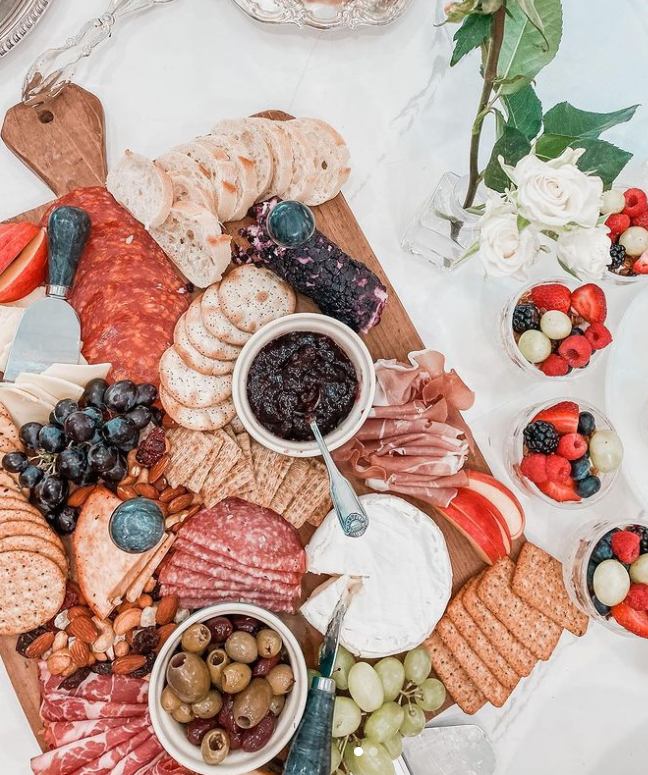
As far as meat, prosciutto and salami are always a crowd pleasers. But more importantly, learn how to fold that meat! That is right… I said “fold that meat”. To make a board more visually appealing, display the meats in different ways- layer it in straight line, layer it in curves around other items. Look at the picture above to see the different ways I have displayed meats and cheeses.
Now comes the most important part, the filler space in between the meats and cheeses. In my opinion, the most beautiful boards are one that are chaotically full of colors and all the foods mixed together on one board. First, I always start with crackers. I buy the assorted packs and layer some on the edge of the board and random places throughout. Then I add color by adding grapes, dried fruits, nut mixes. I will also add small jars of jams and olives, leaving as little dead space as possible.
Once the board is full, now you can just add the serving utensils. Lots of little knives for cheese and little forks and spoons will do the trick!
Honestly, one of the best things you can do starting off is to find several boards for inspiration and when you start to make your board, just be a copy cat. Once you have done this a time or two you will get the hang of it. Happy Charcutering!


Leave a comment